Scoped Views
Learn how Scoped Views in Ternary control data visibility, assign persistent filters to users, support SSO driven access, and enable flexible cost segmentation.
Scoped Views allow organizations to define persistent, reusable filters that control how cloud cost data is displayed to users. These views can represent business units, product lines, teams, environments, or any logical grouping built from cloud provider dimensions or Ternary Custom Labels.
Scoped Views provide structured control over data visibility while preserving flexibility. Administrators can assign views at the organization level, enforce them when required, or allow users to toggle them on and off. Users can also create personal Scoped Views for their own analysis without affecting organizational policies.
Scoped Views support controlled access, reusable reporting logic, and consistent segmentation of cost data across dashboards and reports.
Tutorial - Scoped Views for users with "Regular User" role
Tutorial - Scoped Views for users with "Owner" role (administrators)
How are Scoped Views created and assigned to users?
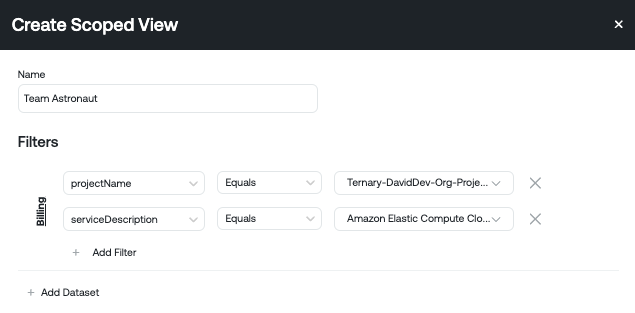
Scoped Views are managed from the Admin section of the platform. To create a new Scoped View:
- Navigate to Admin.
- Open the Scoped Views section.
- Click Create Scoped View.
- Enter a clear and descriptive name that users will recognize.
- Define one or more filters using Ternary custom labels or native cloud billing dimensions.
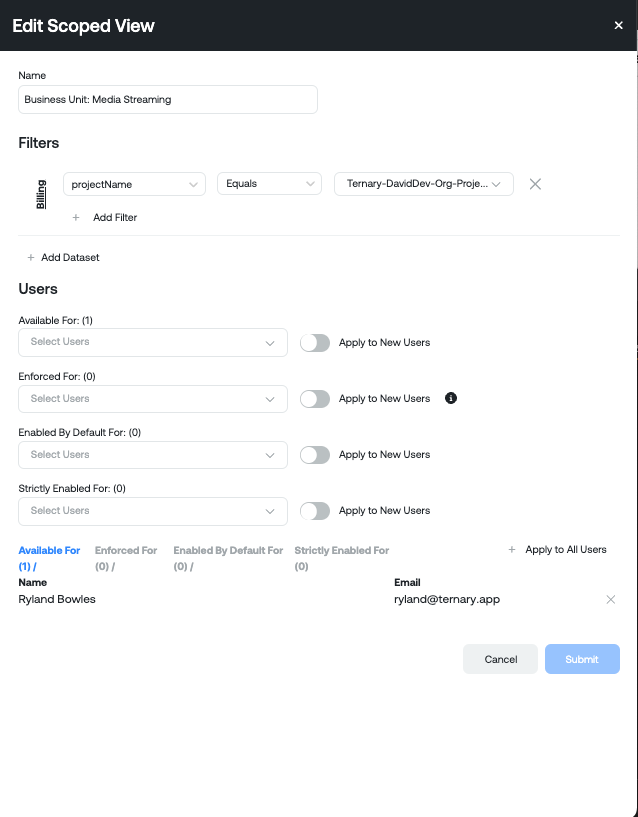
All filters within a single Scoped View are evaluated using AND logic, meaning all defined conditions must be satisfied for data to be included.
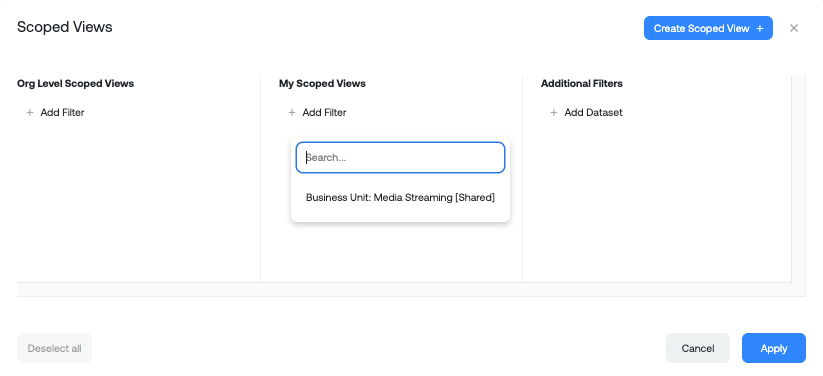
How can Scoped Views be applied to users?
When assigning a Scoped View, four application modes are available. Each controls how the view behaves for the assigned user.
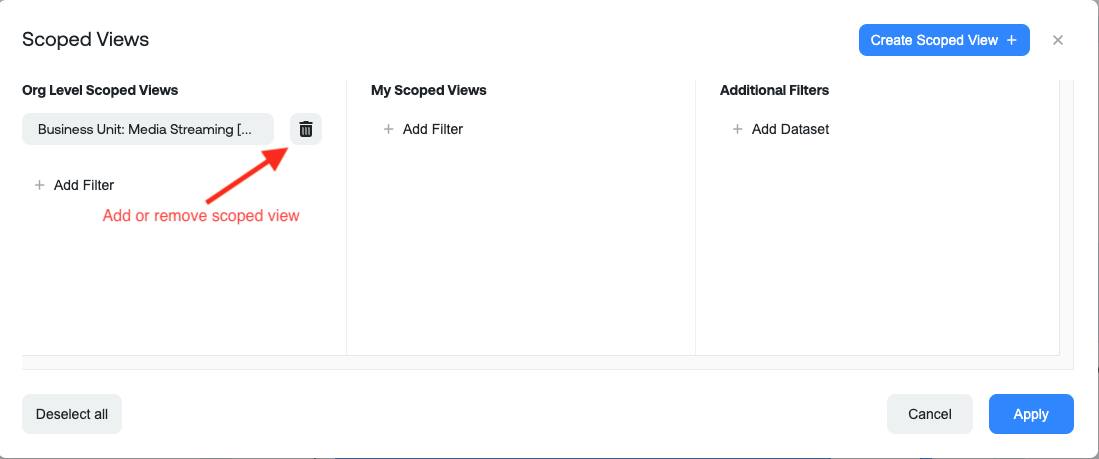
- Available For: Users will see the Scoped View listed under Organization Level Scoped Views on supported pages. It is not automatically applied at login. Users can enable or disable it at their discretion.
- Enforced For: The Scoped View is always applied and cannot be removed. Users may create personal Scoped Views, but those views cannot extend beyond the enforced filter boundaries.
- Enabled by Default For: The Scoped View is automatically applied at login. Unlike Enforced, users can toggle it on or off during their session.
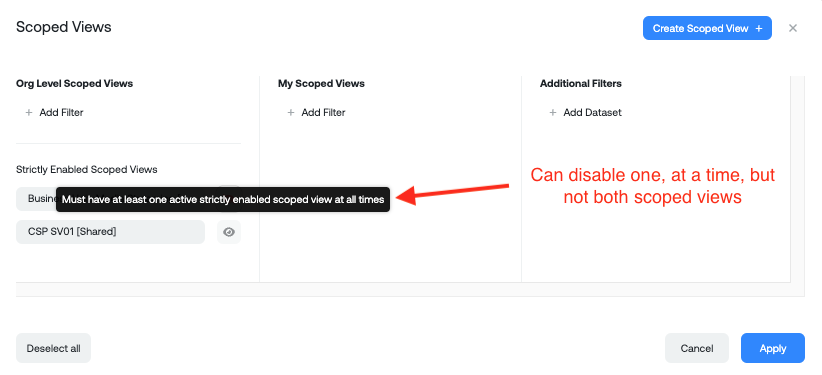
- Strictly Enabled For: Similar to Enforced, but when multiple Scoped Views are applied, they are evaluated using OR logic. For example, if Scoped View 1 and Scoped View 2 are applied, users can see data from either or both. Each view can be toggled independently. This differs from Enforced, which applies AND logic across enforced views.
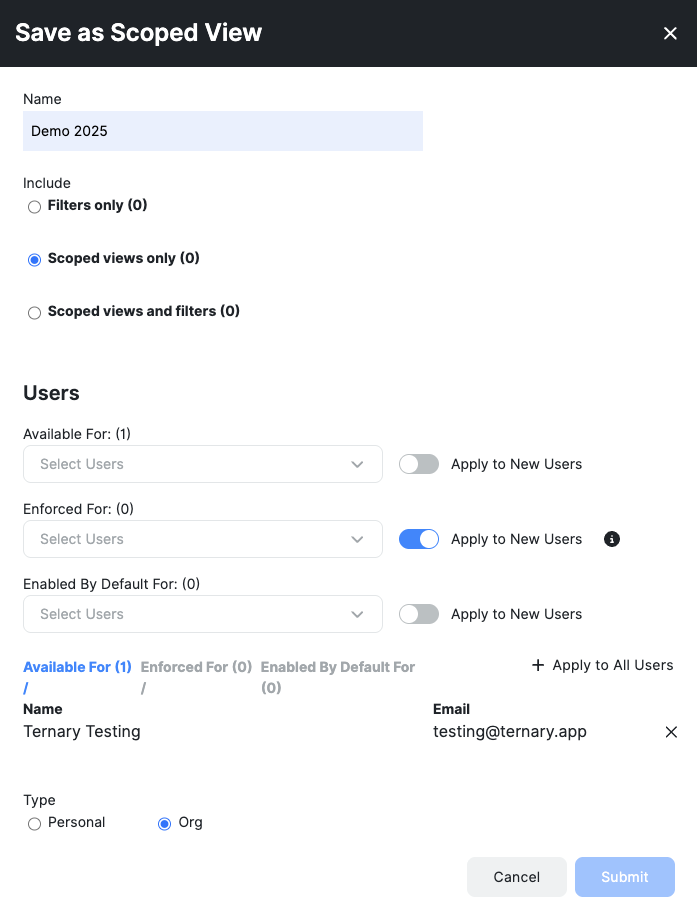
Users are assigned through the dropdown selector in each section. Once assigned to one mode, a user will not appear in the other assignment lists.
A summary table at the bottom of the page displays all current user assignments. Users can be removed from a list using the remove icon.
What additional assignment options are available?
Two global assignment options are available when configuring a Scoped View:
Apply to New Users: Automatically assigns the Scoped View to all newly created users using the selected mode. Apply to All Users: Applies the Scoped View to all existing users using the selected mode.
How does the Scoped View indicator behave?
After a Scoped View is created and assigned, its status is visually indicated within the interface. Here are the relevant examples:
- Available For:
- Enhanced For:

- Enabled by Default For:

- Strictly Enabled For:
How does the Scoped View indicator behave?
After a Scoped View is created and assigned, its status is visually indicated within the interface:
- Grey: No Scoped View applied
- Blue: Organization or personal Scoped View applied
- Red: Scoped View available but disabled or muted
These indicators help users quickly understand whether filters are currently active.
Where can Scoped Views be applied?
Scoped Views can currently be applied to the following areas of the platform:
- Home
- Reporting Engine Dashboards
- Reporting Engine Reports
- Cost Reports
Support for additional features will be introduced in future releases.
What are the use cases of Ternary Scoped Views?
Use Case 1: Creating flexible aggregations of projects, services, or labels
Scoped Views allow flexible include and exclude logic across multiple dimensions. For example, the below mentioned view:
- Excludes a cloud label that represents shared services
- Includes resources where the label
clustercontainsbigco - Includes a defined list of specific projects
After entering a name for the new Scoped View, the process consists of defining the criteria that determine what data is included. It is possible to create combinations that result in no matching data. In those cases, reports and dashboards will display a “No Data to Display” message when the view is applied.
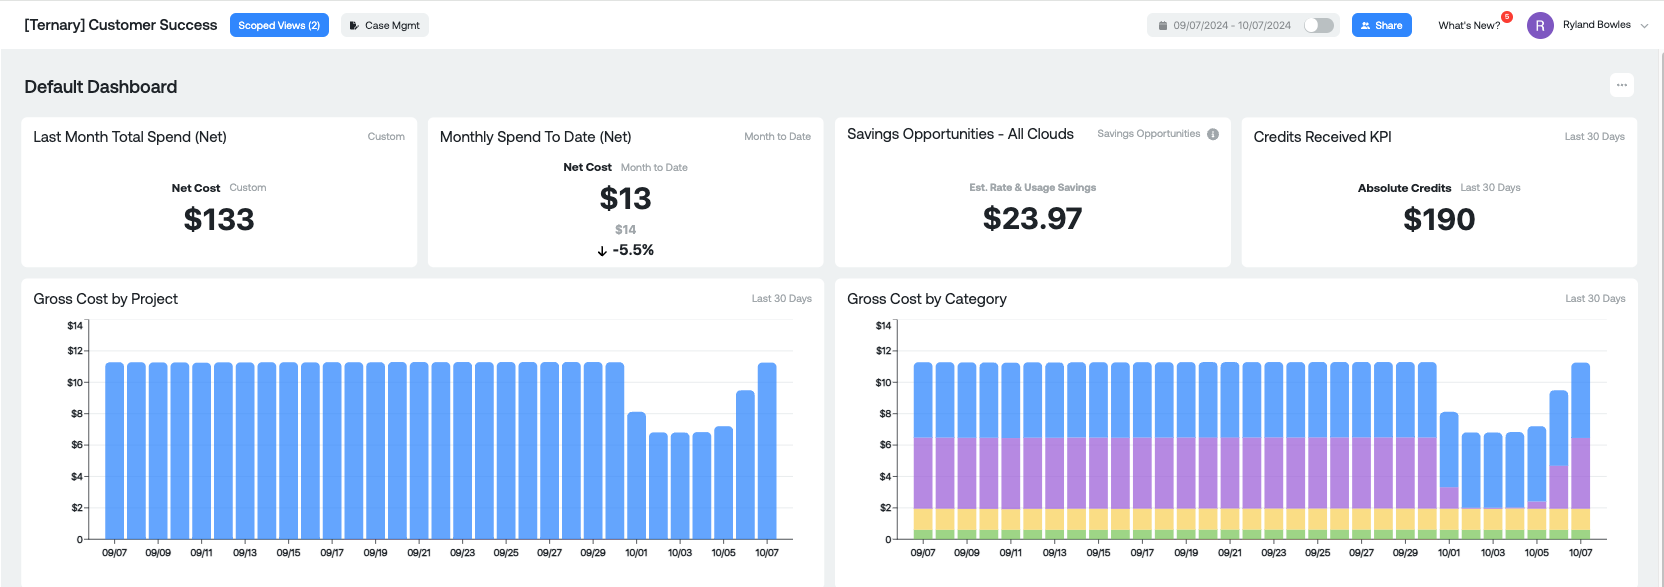
Use Case 2: Reusing generic dashboards and reports
Scoped Views make it possible to maintain a single generic dashboard and dynamically tailor it based on the logged in user. For example, DevOps leaders may each need visibility into the projects they control. Instead of rebuilding dashboards for each team:
- Build generic report templates without applying team specific filters. Examples include: Compute Costs by Family Spending by Category Before Credits
- Create Scoped Views that represent each team’s projects or cost dimensions.
- Ensure the Scoped View and report grouping are logically aligned. A good example: Cost by Project combined with a Scoped View of Projects for Team A. A poor example: Cost by Project combined with a Scoped View of Services with Credits, since credits are not typically applied at the individual project level.
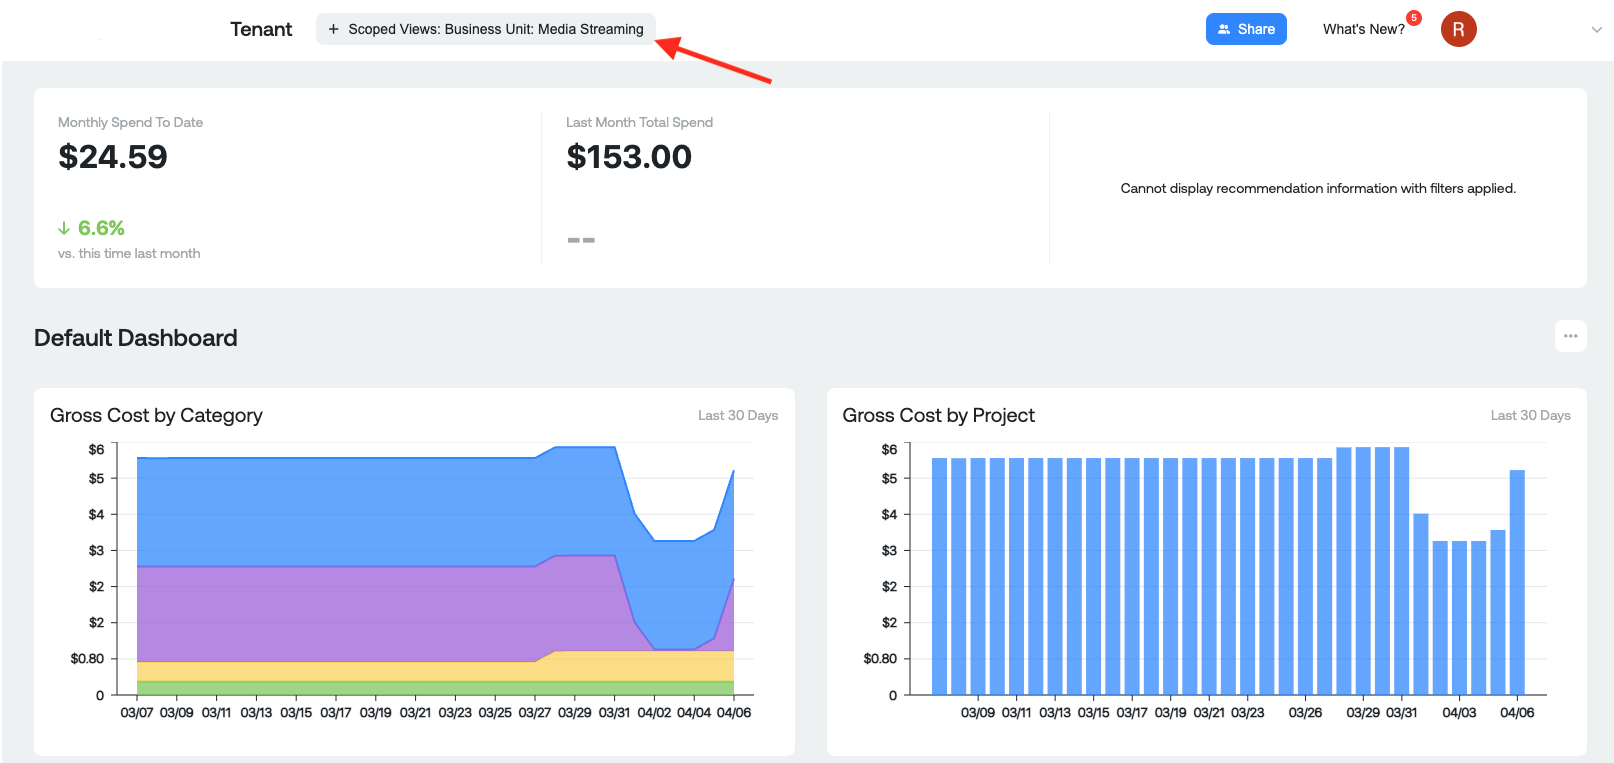
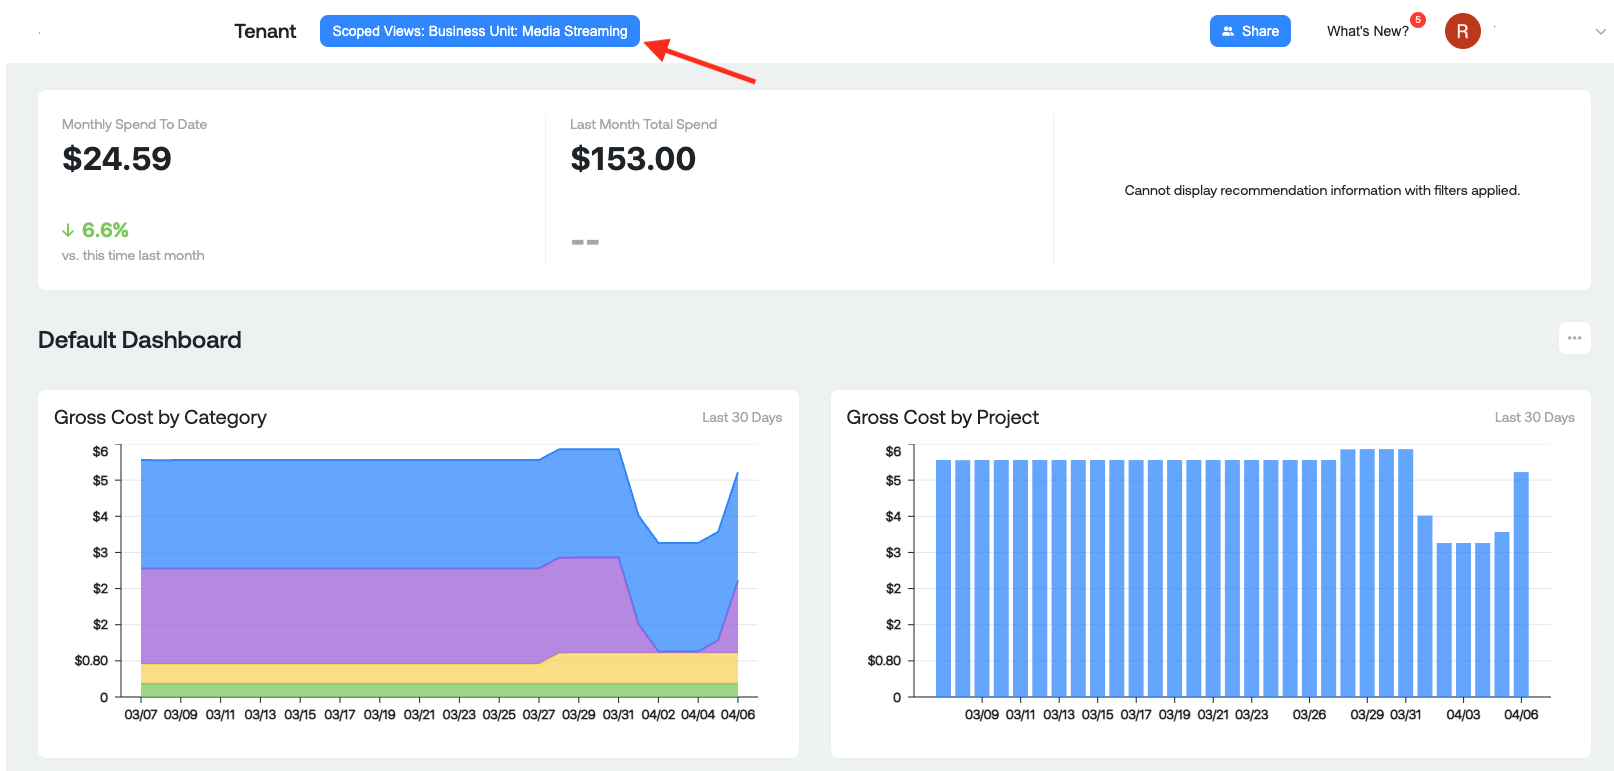
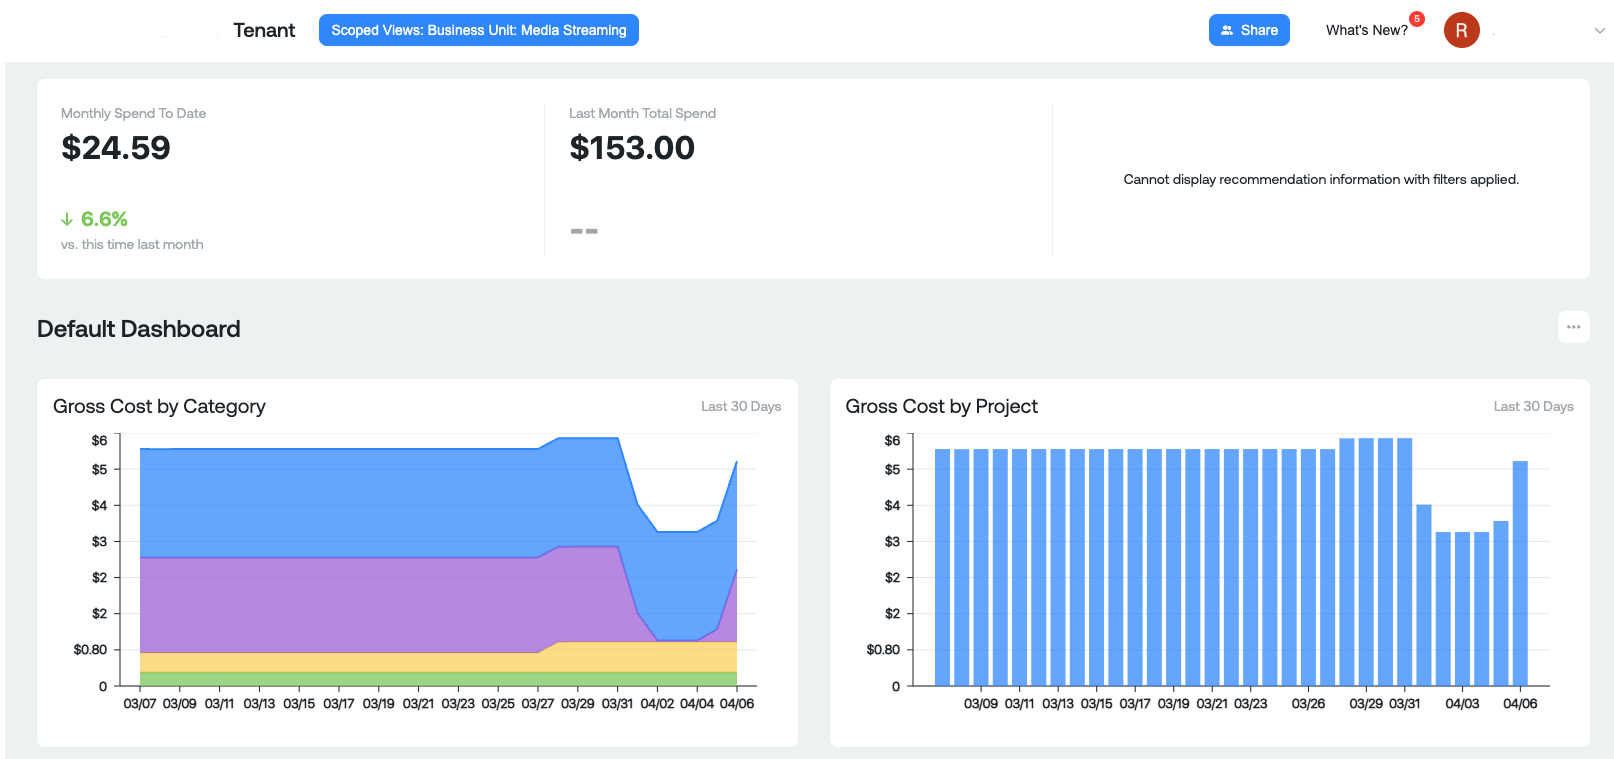
Example of a Default Dashboard with no Scoped View Applied:
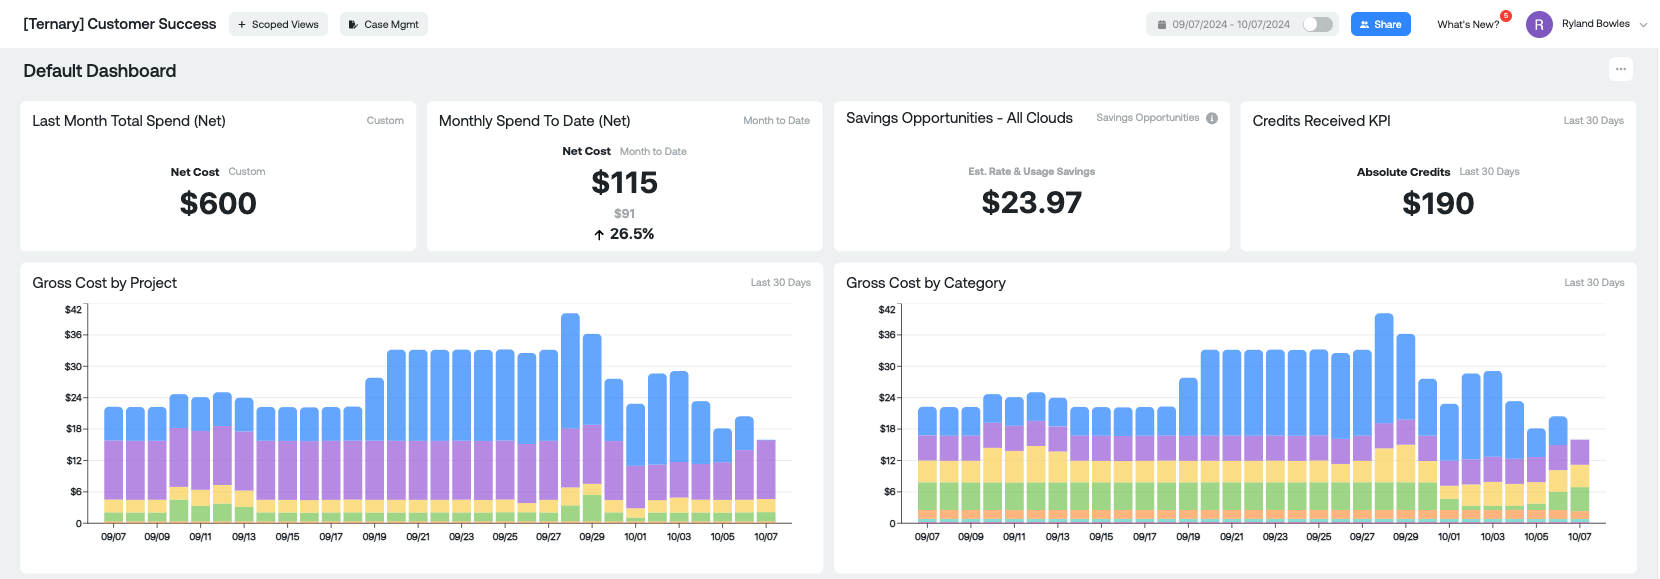
When a user applies a Scoped View using the Scoped Views selector, the same generic dashboard dynamically reflects only the data relevant to that user’s scope.
SSO Driven Assignment of Scoped Views
SSO-driven group assignment allows Scoped Views to be automatically applied to users based on group membership defined in an external identity provider. When a user accesses Ternary through SSO, the platform evaluates group information passed in the IdP token and applies the corresponding Scoped Views without manual intervention.
This mechanism ensures that users consistently receive the correct data access based on organizational roles, both at first login and whenever IdP group membership changes.
More details on prerequisites and configuration can be accessed here.
Updated 13 days ago