MSP Billing Statements
Learn how MSP Billing Statements in Ternary are generated, configured, and managed to support customer invoicing across child tenants.
MSP Billing Statements in Ternary are used to generate point-in-time billing snapshots for child tenants. These statements are designed to support downstream invoicing workflows by providing a clear, auditable view of charges and services associated with each customer.
Billing statements are generated at the MSP level and scoped per child tenant. Each statement reflects the selected billing period, grouping logic, and customer-specific billing details.
Partner branding including logo customization can be applied to billing statements through MSP Custom Branding settings.
How are billing statements accessed?
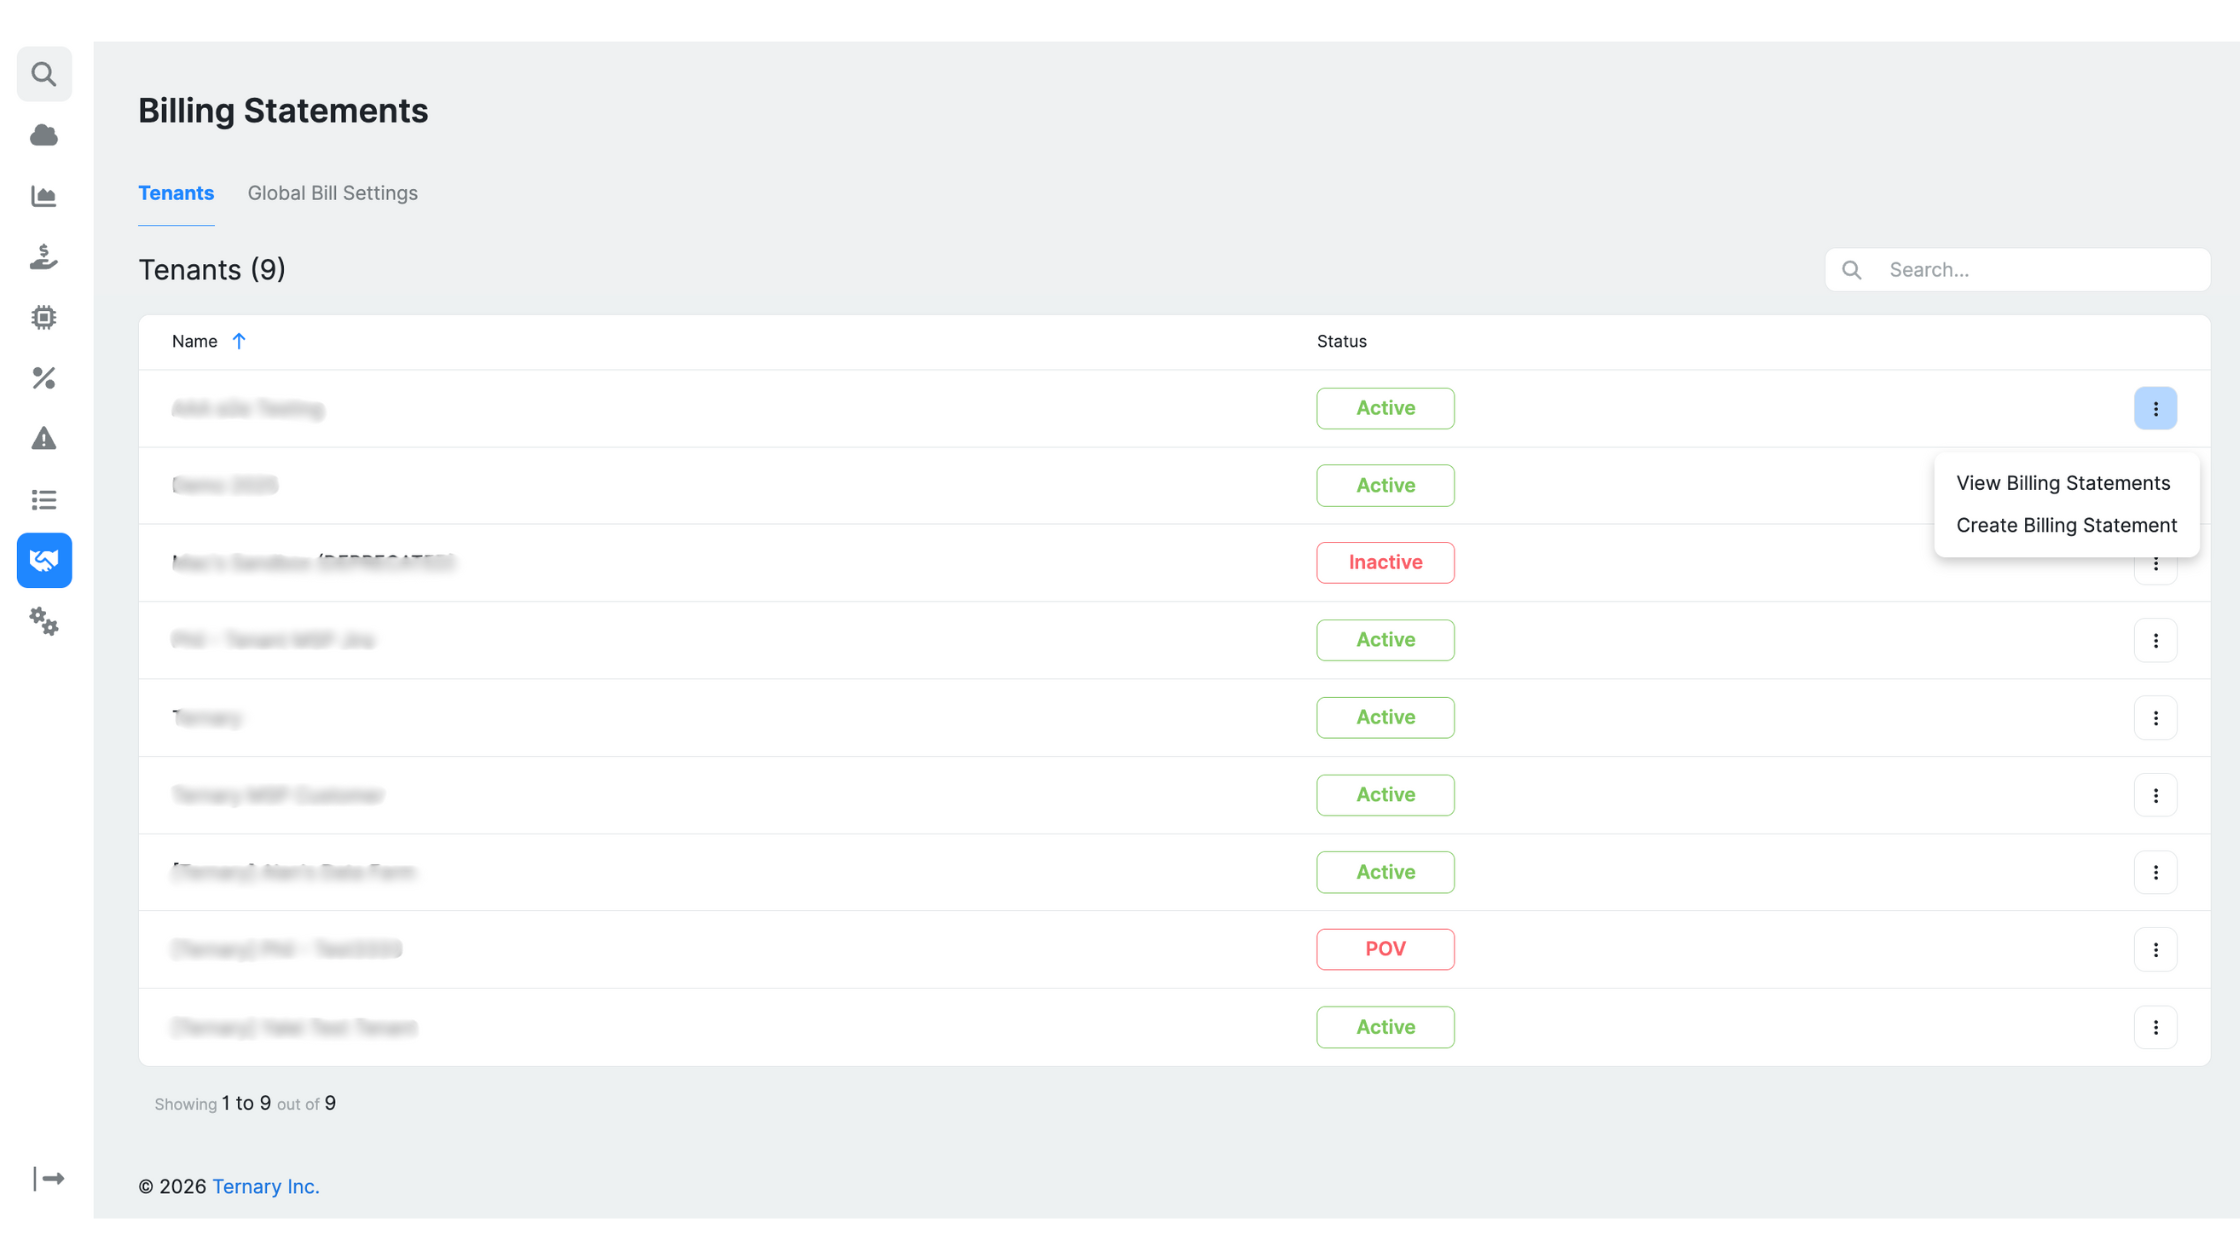
Billing Statements are accessed from the Tenants tab within the MSP Billing Statements area. This view mirrors the tenant list from MSP Customer Management and displays all child tenants along with their active or inactive status.
From the ellipsis menu next to a tenant, the following actions are available:
How are global bill settings configured?
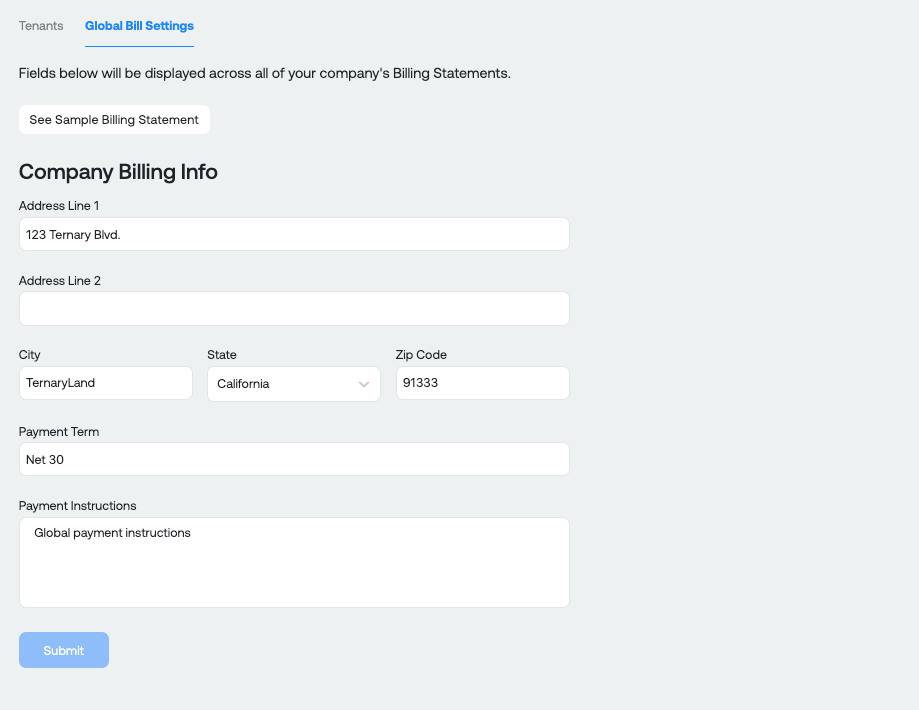
Global bill settings define default MSP billing information applied across all customer statements.
These settings include:
- Company address
- Default payment instructions
- Default payment terms such as Net 30 will appear on every customer’s billing statement.
Global settings apply to all child tenants unless explicitly overridden at the customer level. A sample billing statement can be previewed at any time to validate formatting and content.
How are customer-specific billing details managed?
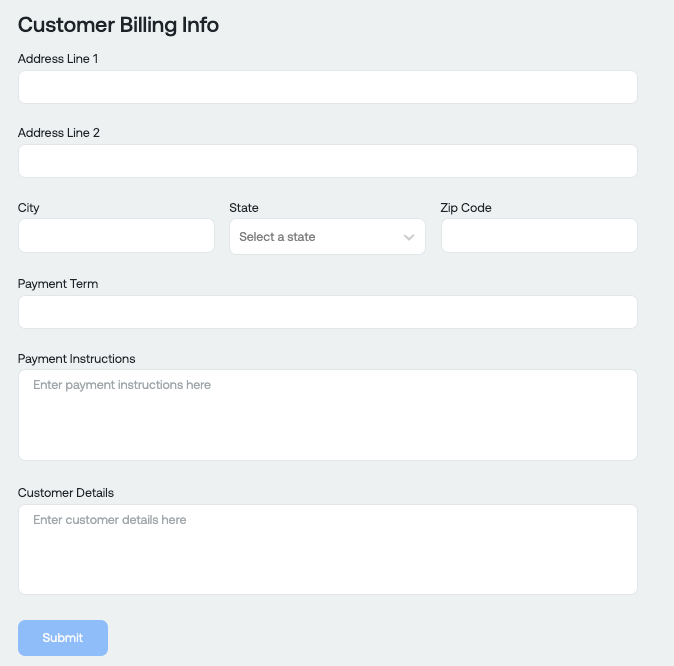
Each child tenant has its own billing details, which override global defaults when specified.
Customer-level billing details include:
- Customer address
- Payment terms (if not specified, the global default will apply.)
- Payment instructions (These override the global default for the specific customer.)
Billing details are managed from the Billing Information tab within a tenant’s Billing Details view. A “See Sample Billing Statement” option is available to confirm how customer-specific details appear on generated statements.
How are billing statements created?
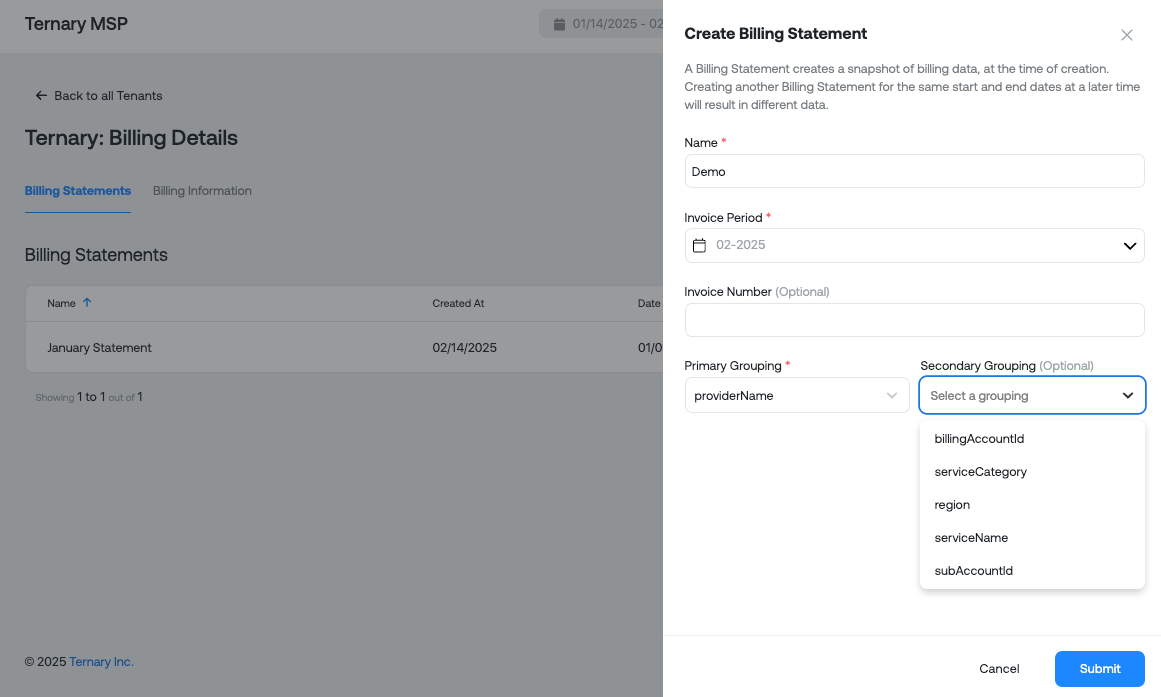
Billing statements can be created either from the Tenant list or from within a specific tenant’s Billing Details view. To create a billing statement:
- Select Create Billing Statement to open the configuration panel.
- Provide a statement name, typically aligned to the billing month or reporting context.
- Define the invoice period using either an invoice month or a custom date range.
- Optionally specify an invoice number.
- Select a primary grouping, such as Provider Name or Invoice Issuer.
- Optionally apply a secondary grouping for additional breakdowns, including service, region, or subaccount.
- Once submitted, the billing statement is generated and added to the tenant’s billing statement table.
What actions are available after a billing statement is generated?
Generated billing statements support the following actions:
- Export as a PDF for invoicing or customer distribution
- Export underlying data as CSV
- Delete the billing statement if regeneration is required
All generated statements remain associated with the tenant and can be accessed from the Billing Details view.
Updated 5 months ago